Install Linux Mint on a MacBook Air
A practical guide to installing Linux Mint 22 on a 2016 MacBook Air, transforming aging Apple hardware into a functional data science workstation.
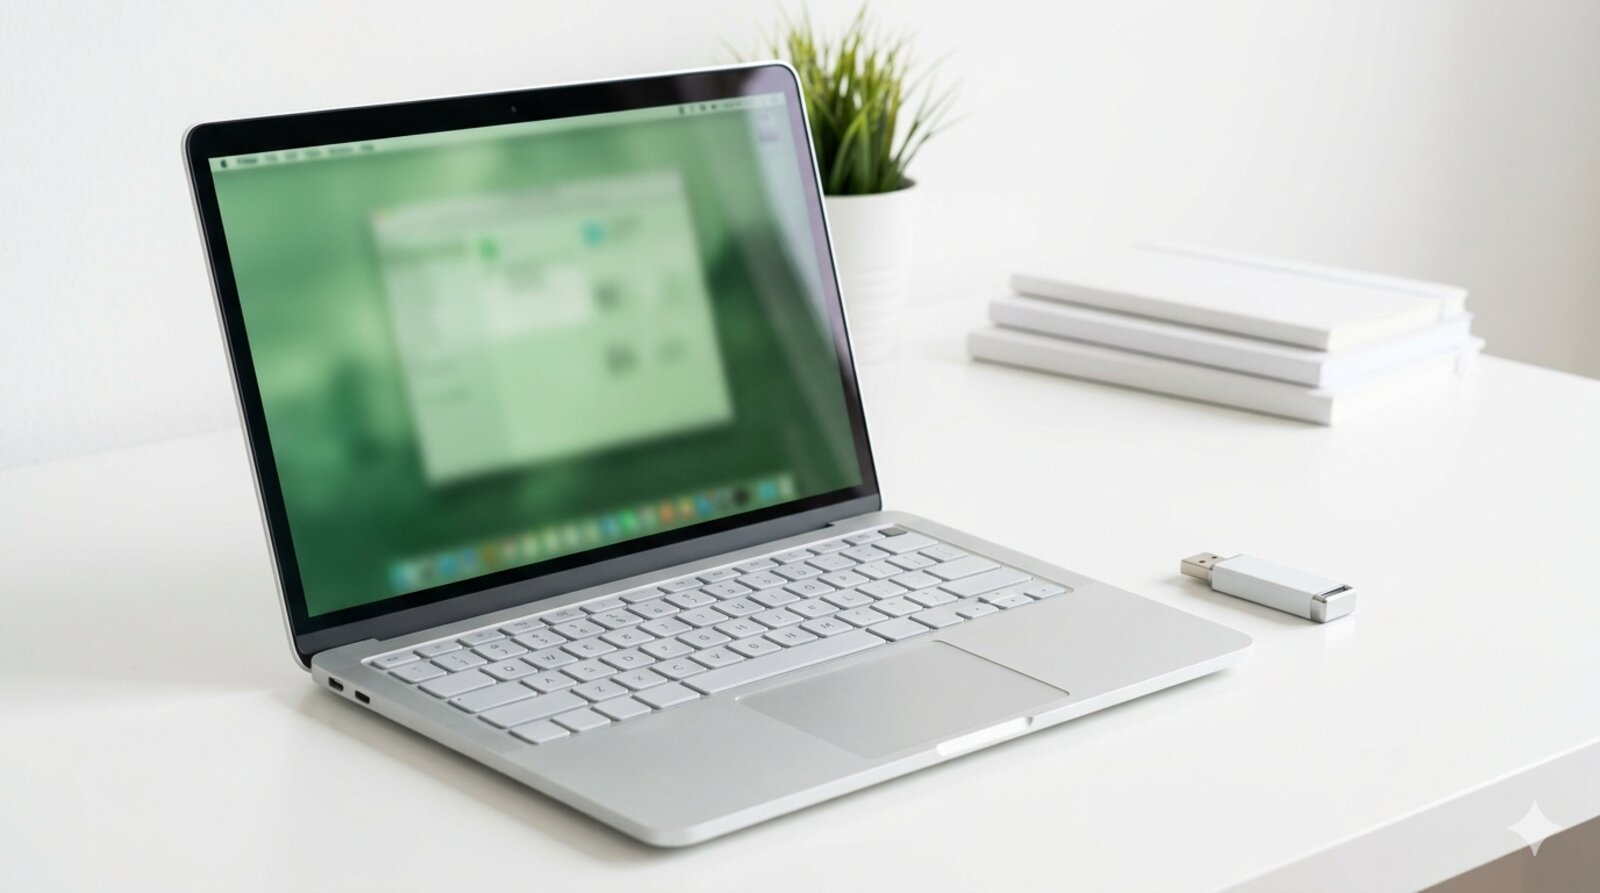
Linux Mint: a polished desktop experience on repurposed Apple hardware.
1 Introduction
Many users assume that installing Linux on Apple hardware requires fighting obscure driver issues: wifi cards that refuse to connect, trackpads that stutter, and suspend modes that brick the machine. This assumption, while once valid, has become largely outdated. Modern distributions like Linux Mint have matured to the point where installation on older MacBooks is surprisingly painless.
The specific goal of this project is to refurbish a 2016 13-inch MacBook Air with a modern Linux operating system and configure it as a functional data science workstation. The distribution we focus on is Linux Mint 22 (“Wilma”), chosen primarily because it ships with the hardware drivers needed for this particular MacBook, making the installation far more straightforward than most alternatives.
We walk through every step of the process: from downloading the ISO image and burning it onto a USB drive, through the installation itself, to post-install configuration of the shell, keyboard, display, and essential software. Common stumbling blocks are documented throughout so that readers can avoid them.
More formally, this post documents the Hardware and Operating System layers (Layers 1 and 2) of the Workflow Construct described in post 52. The ThinkPad-with-Mint pairing is the construct’s Linux side; it mirrors the macOS-with-MacBook side and provides the cross-platform substrate on which the higher layers (shell, editor, container runtime) are identical. The installation walked through here is the bootstrapping that brings a new ThinkPad to the point where the dotfiles repository’s install.sh (see post 24) can run.
1.1 Motivations
The following considerations motivated this project:
- A functional MacBook Air sitting unused because macOS updates had slowed it to a crawl represented wasted hardware that could be given a second life.
- Data science workflows that rely on R, Python, and Docker benefit from a lightweight machine that can run all three without the overhead of a modern macOS installation.
- Curiosity about whether Linux Mint could genuinely replace macOS for users accustomed to Apple’s trackpad gestures and keyboard shortcuts.
- Setting up a reproducible development environment from scratch is a useful exercise in understanding what dependencies a workflow actually requires.
- A portable secondary machine for teaching demonstrations, where the full software stack is visible and inspectable rather than hidden behind proprietary layers.
1.2 Objectives
- Download, verify, and burn the Linux Mint 22 ISO image onto a bootable USB drive.
- Install Mint on a 2016 MacBook Air, including handling wifi, trackpad, and display drivers.
- Configure the desktop environment, keyboard shortcuts, and shell (zsh) for a data science workflow.
- Install and validate the core software stack: R, vim, Docker, Dropbox, and essential command-line utilities.
Errors and alternative approaches are welcome; see the Let’s Connect section at the end.

2 Prerequisites and Setup
Before beginning, gather the following:
- Target machine: A 2016 13-inch MacBook Air (Early 2015 hardware,
MacBookAir7,2; one Thunderbolt 2 port, two USB-A ports, MagSafe 2 power). Other MacBook models may work but driver support varies. - Working machine: Any computer with internet access and a USB port, used to download the ISO and burn the USB drive.
- USB flash drive: At least 4 GB capacity (the ISO is approximately 3 GB).
- External wifi adapter (if needed): A Panda Wireless USB adapter is a reliable fallback. Mint 22 ships with
Ralink RT5372drivers, which support this adapter out of the box. - Ethernet cable (optional but recommended): Wired connectivity during initial setup avoids wifi driver issues entirely.
3 What is Linux Mint?
Linux Mint is a community-driven Linux distribution built on top of Ubuntu (which is itself built on Debian). It emphasises ease of use and ships with the Cinnamon desktop environment, which provides a traditional desktop metaphor: a taskbar, a start menu, and a system tray. For users migrating from macOS or Windows, Cinnamon feels immediately familiar.
The distinguishing feature of Mint, relative to Ubuntu or Fedora, is its focus on hardware compatibility and out-of-the-box usability. The Mint team bundles proprietary multimedia codecs, common drivers, and a curated set of default applications so that the system is functional immediately after installation. Since the beginning of the Linux era (circa 1991), the central challenge of installing a Linux distribution on consumer hardware has been wrestling with video, audio, trackpad, and power management drivers. Mint addresses this directly.
4 Getting Started: Installation
4.1 Download and Verify the ISO
Download the torrent file for Linux Mint 22 Wilma Cinnamon edition from the official Mint website:
linuxmint-22-cinnamon-64bit.iso.torrent
Install the macOS app Transmission and add the torrent file. Also download the associated sha256sum.txt file.
To verify the integrity of the downloaded ISO, generate its SHA256 checksum and compare it to the published hash:
sha256sum -b linuxmint-22-cinnamon-64bit.isoCompare the output against the contents of sha256sum.txt. If the hashes match, the download is intact.
4.2 Burn the ISO to USB
Transfer the ISO file to a USB flash drive using balenaEtcher, a cross-platform tool that writes disk images reliably. Insert the USB drive, select the ISO in balenaEtcher, and click “Flash.”
4.3 Boot from USB and Install
Insert the bootable USB flash drive into the target MacBook and reboot. Hold the ALT key during startup to access the boot drive selection screen. Select the icon for the USB drive.
A GRUB menu will appear.1
1 GNU GRand Unified Bootloader (GRUB): When a Linux operating system starts, GRUB is the first program that runs. It loads the kernel, which in turn loads the shell, the desktop environment, and other system services. codecademy.com
From the GRUB menu, choose Start Linux Mint 22 Cinnamon 64-bit. A Mint desktop will appear, allowing you to test-drive the system or proceed with installation by double-clicking the “Install Linux Mint” icon.
4.4 Installation Dialog
The setup dialog walks through the following screens in sequence:
- Language: English (or your preference).
- Network: If ethernet is available, Mint connects automatically. Wifi can be configured later; skip this step if only wireless is available.
- Multimedia codecs: Check the box to install multimedia codecs.
- Installation type: Choose “Erase disk and install Linux Mint.”
- Location: Select your timezone (e.g., Los Angeles).
- User account: Create an administrator username, assign a password, and set a hostname.
The installation proceeds without further input.
4.5 Post-Install Connectivity
When the installation completes, connect the target machine to the internet. If you have ethernet, plug the cable directly into the MacBook; Mint will connect automatically. For wireless access, Mint may or may not recognise the internal wifi hardware. If it does not, use a supported external adapter such as the Panda Wireless USB modem (supported via the Ralink RT5372 drivers bundled with Mint 22).
Optionally, connect a second monitor through a Mini DisplayPort adapter into the MacBook’s Thunderbolt 2 port.
Reboot and log in with the administrator credentials you created during installation. The base system is ready.

Building the software stack: from bare metal to a configured development environment.
5 Configuring the Desktop
5.1 Keyboard and Trackpad
Open Mouse and Touchpad in system settings and enable Reverse scroll (natural scrolling for macOS converts).
Open Keyboard > Layouts > Options > Caps Lock behavior and select Swap Esc and Caps-Lock. This is an important setting for vim users.
Open Shortcuts > Windows and configure:
Maximize window:Super-fUnmaximize window:Super-gClose window:Super-qMove window to other monitor:Shift-Super-UpArrow
5.2 Display Settings
On a two-monitor system, open the Display settings (press the Super key and search for “display”). Set the external monitor as the primary display at its native resolution (e.g., 1920x1200 on a 24-inch Dell UltraSharp). Set Monitor scale to 150% to increase the default font size in applications. The MacBook’s internal panel is 1440x900 native and serves as the secondary display. A 4K external monitor at 3840x2160 can be substituted for the 24-inch primary.
5.3 Power Management
Switch the “suspend on timeout” behaviour to “shut down immediately” in power settings. This avoids system lock issues on lid close or idle timeout, which can be problematic on older MacBook hardware.
6 Installing the Software Stack
6.1 Copy Configuration Files from Host
Connect to the new Mint machine via SSH from an existing workstation:
# On the Mint machine
sudo apt install openssh-server
ip route
Note the IP address from the ip route output (e.g., 10.0.1.196).
From the host machine, copy essential dotfiles:
# From the Mac
scp ~/Dropbox/dotfiles/kickstart/* z@10.0.1.196:~
Key configuration files to transfer:
.vimrc: vim configuration.zshrc: zsh shell configuration.vim/directory: containsplugandultisnips
Optionally, copy a test workspace to verify the rendering pipeline later:
scp ~/work/teaching/fmph243b/project1 z@10.0.1.196:~6.2 Install Core Utilities
Update the package listings and install the essential tool chain:
sudo apt update
sudo apt upgrade -y
sudo apt install \
  r-base-core terminator eza tree zsh git vim \
  fzf ripgrep autojump zsh-autosuggestions \
  zathura -y
6.3 Set Up the Shell
Make zsh the default shell:
chsh -s $(which zsh)Configure zsh following the companion post on shell setup (see the “See Also” section below for the link).
6.4 Set Up Symbolic Links
Run the dotfile linking script to connect the home directory to configurations stored in Dropbox:
~/Dropbox/dotfiles/set_up_links.shThe script performs the following:
#!/bin/zsh

# Move the install-created .config temporarily
mv ~/.config ~/.config.tmp

# Link dotfiles from Dropbox to Home
ff=(".zshrc" ".viminfo" ".vimrc" ".local" ".vim" \
    ".vimplugins" ".config" ".Rprofile")
for P in "${ff[@]}"
do
echo "Linking Dropbox version of $P to Home"
    ln -v -s "$HOME/Dropbox/dotfiles/$P" "$HOME/$P"
done

# Restore original .config contents into the linked dir
cp -R ~/.config.tmp/* ~/.config
rm -rf ~/.config.tmp

# Link working directories from Dropbox
dd=("sandbox" "bin" "docs" "prj" "work" "ssh" "shr")
for P in "${dd[@]}"
do
    echo "Linking $P from Dropbox to Home"
    ln -v -s "$HOME/Dropbox/$P" "$HOME/$P"
done
Alternative shortcut: Install Dropbox first (see below), then run install_app.sh and set_up_links.sh from ~/Dropbox/dotfiles/ while Dropbox syncs in the background.
6.5 Install Additional Applications
Install Zotero using the Software Manager. Set up Zotero syncing with the relevant account credentials.
Add the vimium extension to Firefox for keyboard-driven browsing.
6.6 Install Dropbox
sudo apt install nautilus-dropbox
dropbox autostart y
dropbox start -i
The Dropbox startup process launches a browser-based sign-in page. Log in with the appropriate Dropbox credentials.
6.7 Install Docker
Installing Docker on Mint requires adding Docker’s GPG key and repository to the Apt sources, because the Docker packages in the default Mint repositories are outdated:
sudo apt update
sudo apt install \
  apt-transport-https ca-certificates curl gnupg
curl -fsSL \
  https://download.docker.com/linux/ubuntu/gpg \
  | sudo gpg --dearmor \
  -o /usr/share/keyrings/docker.gpg
echo "deb [arch=$(dpkg --print-architecture) \
  signed-by=/usr/share/keyrings/docker.gpg] \
  https://download.docker.com/linux/ubuntu \
  noble stable" \
  | sudo tee /etc/apt/sources.list.d/docker.list \
  > /dev/null
sudo apt update
sudo apt install \
  docker-ce docker-ce-cli containerd.io \
  docker-buildx-plugin docker-compose-plugin
sudo systemctl is-active docker
Reference: How to Install Docker on Linux Mint 21 (linuxiac.com). The linked guide targets Mint 21 (Ubuntu 22.04 “jammy”); for Mint 22 on Ubuntu 24.04, substitute the noble codename in the repository line as shown above.
7 Checking Our Work
The system should now be able to render both .Rmd and .qmd files. A good test is to render a known-working document:
cd ~/prj/setupmint
quarto render index.qmd --to pdf
If this fails, walk through the dependency chain systematically. The troubleshooting sequence below captures common errors encountered and how to resolve each one.
7.0.1 Troubleshooting the Rendering Pipeline
Starting with a sample peng1.Rmd file, the rendering was attempted from the command line. Each attempt surfaced the next missing dependency.
Attempt 1: R -e "render('peng1.Rmd')" Error: Command R not found. Fix: sudo apt install r-base-core
Attempt 2: R -e "render('peng1.Rmd')" Error: could not find function "render". Fix: install.packages("rmarkdown") in R.
Attempt 3: R -e "library(rmarkdown); render('peng1.Rmd')" Error: pandoc version 1.12.3 or higher required. Fix: Install pandoc via apt or Quarto (which bundles its own pandoc).
Attempt 4: R -e "library(rmarkdown); render('peng1.Rmd')" Error: there is no package called 'pacman'. Fix: install.packages("pacman") in R.
Attempt 5: R -e "library(rmarkdown); render('peng1.Rmd')" Error: could not find preamble.tex. Fix: The file path used a macOS-style path (/Users/zenn/shr/preamble.tex). Transfer the file and update the path to the Linux equivalent.
Attempt 6: R -e "library(rmarkdown); render('peng1.Rmd')" Error: pdflatex not found. Fix: Install TinyTeX from within R:
install.packages("tinytex")
tinytex::install_tinytex()
Attempt 7: R -e "library(rmarkdown); render('peng1.Rmd')" Error: file sudoku_apple.pdf not found. Fix: Transfer the missing logo file from the host machine.
Attempt 8: R -e "library(rmarkdown); render('peng1.Rmd')" Error: no bibliography file found. Fix: Transfer the .bib file and update the path in the YAML header.
Attempt 9: R -e "library(rmarkdown); render('peng1.Rmd')" Minor errors from packages that failed to load via pacman. Removed janitor, kableExtra, tidyverse, readxl from the preamble and added ggplot2 directly.
Attempt 10: Success. The document rendered to PDF without errors.
We note that every rendering failure pointed to a specific missing dependency. Addressing them one at a time is tedious but educational; each fix clarifies what a workflow actually requires.
7.1 Things to Watch Out For
- Wifi drivers are the first hurdle. If the internal wifi card is not recognised, do not waste time debugging; plug in ethernet or use a Panda Wireless USB adapter and move on.
- macOS file paths break on Linux. Any configuration file,
.Rmdheader, or script that references/Users/will fail. Search and replace all paths after migrating files. - Suspend-on-lid-close can lock the system. On older MacBooks, the safest power management setting is to shut down on lid close rather than suspend.
- Docker on Mint is not straightforward. The default Mint repositories do not include current Docker packages. Docker’s official GPG key and repository must be added manually.
- Package installation in R is slower on Linux. R packages compile from source on Linux (unlike macOS and Windows, which use pre-built binaries). Expect the first
install.packages()call to take significantly longer.
8 Daily Workflow
Once the system is configured, these commands become routine:
| Command | Action |
|---|---|
quarto render doc.qmd --to pdf |
Render a Quarto document to PDF |
Rscript -e "rmarkdown::render('file.Rmd')" |
Render an R Markdown report |
docker compose up -d |
Start a containerised analysis environment |
make r |
Enter zzcollab Docker container |
dropbox status |
Check Dropbox sync progress |
sudo apt update && sudo apt upgrade |
System update |
9 Uninstall / Rollback
To restore macOS on the MacBook:
- Create a macOS bootable USB installer from another Mac using
createinstallmedia. - Boot from the USB (hold
Optionat startup). - In Disk Utility, erase the entire disk (APFS format).
- Install macOS from the USB installer.
This is a full disk wipe. Back up any Linux-side files (e.g., ~/prj/, configuration files) to external storage or Dropbox before proceeding.

From installation to a configured, productive environment.
10 What Did We Learn?
10.1 Lessons Learnt
Conceptual Understanding:
- Linux Mint’s value proposition is not novelty; it is that the hard work of driver integration has already been done for common hardware configurations.
- The Debian/Ubuntu package ecosystem (
apt) is remarkably comprehensive. Nearly every tool required for data science workflows is a singleapt installaway. - A fresh Linux installation reveals every implicit dependency in your workflow that macOS had been hiding behind pre-installed frameworks.
- Hardware compatibility remains the single most important factor when choosing a Linux distribution for physical (non-virtual) installation.
Technical Skills:
- Verifying ISO integrity using SHA256 checksums before installation is a practice often skipped but worth adopting.
- The
scpandsshworkflow for bootstrapping a new machine from an existing one is efficient and repeatable. - Symbolic linking dotfiles from a cloud-synced directory (Dropbox) to the home directory creates a portable configuration that survives reinstallation.
- Managing Docker on Mint requires understanding GPG keys and APT repository configuration at a level that macOS package managers abstract away.
Gotchas and Pitfalls:
- The order of operations matters: install Dropbox early so that dotfile linking scripts can reference
~/Dropbox/paths immediately. - R packages compile from source on Linux, which means system-level dependencies (
libcurl4-openssl-dev,libxml2-dev) must be installed before certain R packages will build. - The
chshcommand requires a logout/login cycle to take effect; do not assumezshis active immediately after running it. - TinyTeX installation from within R does not always add
pdflatexto the system PATH. Verify withwhich pdflatexafter installation.
10.2 Limitations
- This guide is specific to the 2016 13-inch MacBook Air (Early 2015 hardware, Thunderbolt 2 port). Other MacBook models, especially those with the T2 security chip (2018 and later), may require additional steps or may not work at all.
- Wifi driver support depends on the specific wireless chipset. The Panda Wireless workaround is reliable but adds an external dependency.
- The guide assumes a complete disk erasure. Dual-boot configurations (macOS alongside Mint) are not covered and involve additional partitioning complexity.
- Battery life on Linux is typically shorter than on macOS for the same hardware, because Apple’s power management optimisations are proprietary and not available to Linux kernels.
- The Docker installation instructions reference the Ubuntu “noble” repository (Ubuntu 24.04), which matches the Mint 22.x base. Future Mint releases built on a newer Ubuntu base will require substituting the new codename.
- Software Manager availability varies. Some applications (e.g., Zotero) may require manual installation from the vendor’s website rather than through the Mint Software Manager.
10.3 Opportunities for Improvement
- Automate the entire post-install setup with a single shell script that installs all packages, configures the shell, sets up symbolic links, and installs Docker in one pass.
- Use Ansible or a similar configuration management tool to make the setup reproducible across multiple machines without manual intervention.
- Investigate the
ubuntu-driversutility for automated hardware driver detection and installation, which may simplify wifi and display driver setup. - Benchmark battery life under Linux versus macOS on the same hardware and document power management tweaks (TLP, powertop) that close the gap.
- Create a minimal
renv-based project as the verification test instead of relying on a colleague’s.Rmdfile with unknown dependencies. - Document the T2 chip workaround for newer MacBooks, which requires disabling Secure Boot via macOS Recovery before Linux can be installed.
11 Wrapping Up
Repurposing an aging MacBook Air with Linux Mint proves to be a practical project. A machine that had become too slow for macOS updates can run a complete data science environment (R, Python, Docker, vim, and Quarto) without noticeable difficulty.
The most valuable outcome is often not the end result but the process itself. Each rendering failure, each missing driver, each broken file path teaches something specific about what a workflow actually depends on. When everything runs without incident on macOS, that understanding never develops.
For those with an old MacBook collecting dust, this project is worth attempting. The worst case is an afternoon spent learning about one’s own toolchain; the best case is a fully functional secondary workstation.
In conclusion, four points merit emphasis. First, Linux Mint 22 installs cleanly on a 2016 MacBook Air with minimal driver friction, a result that would have been implausible on the same hardware a decade earlier. Second, the full software stack (R, Docker, vim, zsh, and Quarto) can be configured in a single sitting once the base system is running. Third, symbolic linking dotfiles from Dropbox creates a portable, reinstallation-proof configuration that transfers across machines with a single script. Fourth, the troubleshooting sequence for document rendering is genuinely educational: each error reveals a specific dependency that a working macOS environment had previously concealed.
12 See Also
Related posts:
- Configure the Command Line for Data Science Development: shell and terminal configuration guide
- Set Up a GitHub Dotfiles Repository: managing configuration files with version control
Key resources:
- Linux Mint Official Website: ISO downloads, release notes, documentation
- Linux Mint Installation Guide: official step-by-step installation documentation
- balenaEtcher: USB image writing tool
- How to Install Docker on Linux Mint: Docker installation reference
- TinyTeX: lightweight LaTeX distribution for R users
13 Reproducibility
13.1 Hardware
- Target machine: 2016 13-inch MacBook Air (Early 2015 hardware, model identifier
MacBookAir7,2) - Ports: 1 Thunderbolt 2, 2 USB-A 3.0, MagSafe 2, SDXC, 3.5 mm audio
- Native panel: 1440x900, 13.3-inch
- RAM: 8 GB
- Storage: 256 GB SSD
13.2 Software Versions
- Linux Mint: 22 “Wilma” (Cinnamon edition)
- Kernel: Based on Ubuntu 24.04 LTS (“Noble Numbat”)
- R: Version installed via
r-base-corefrom Ubuntu repositories - Docker: Latest stable from Docker’s official repository
- Quarto: Latest stable release
13.3 Verification Commands
cat /etc/os-release

uname -r

R --version | head -1

sudo systemctl is-active docker

echo $SHELL
14 Let’s Connect
Have questions, suggestions, or spot an error? Let me know.
- GitHub: rgt47
- Twitter/X: @rgt47
- LinkedIn: Ronald Glenn Thomas
- Email: Contact form
I would enjoy hearing from you if:
- You spot an error or a better approach to any of the code in this post.
- You have suggestions for topics you would like to see covered.
- You want to discuss R programming, data science, or reproducible research.
- You have questions about anything in this tutorial.
- You just want to say hello and connect.