Setting Up pass: a Unix Password Manager
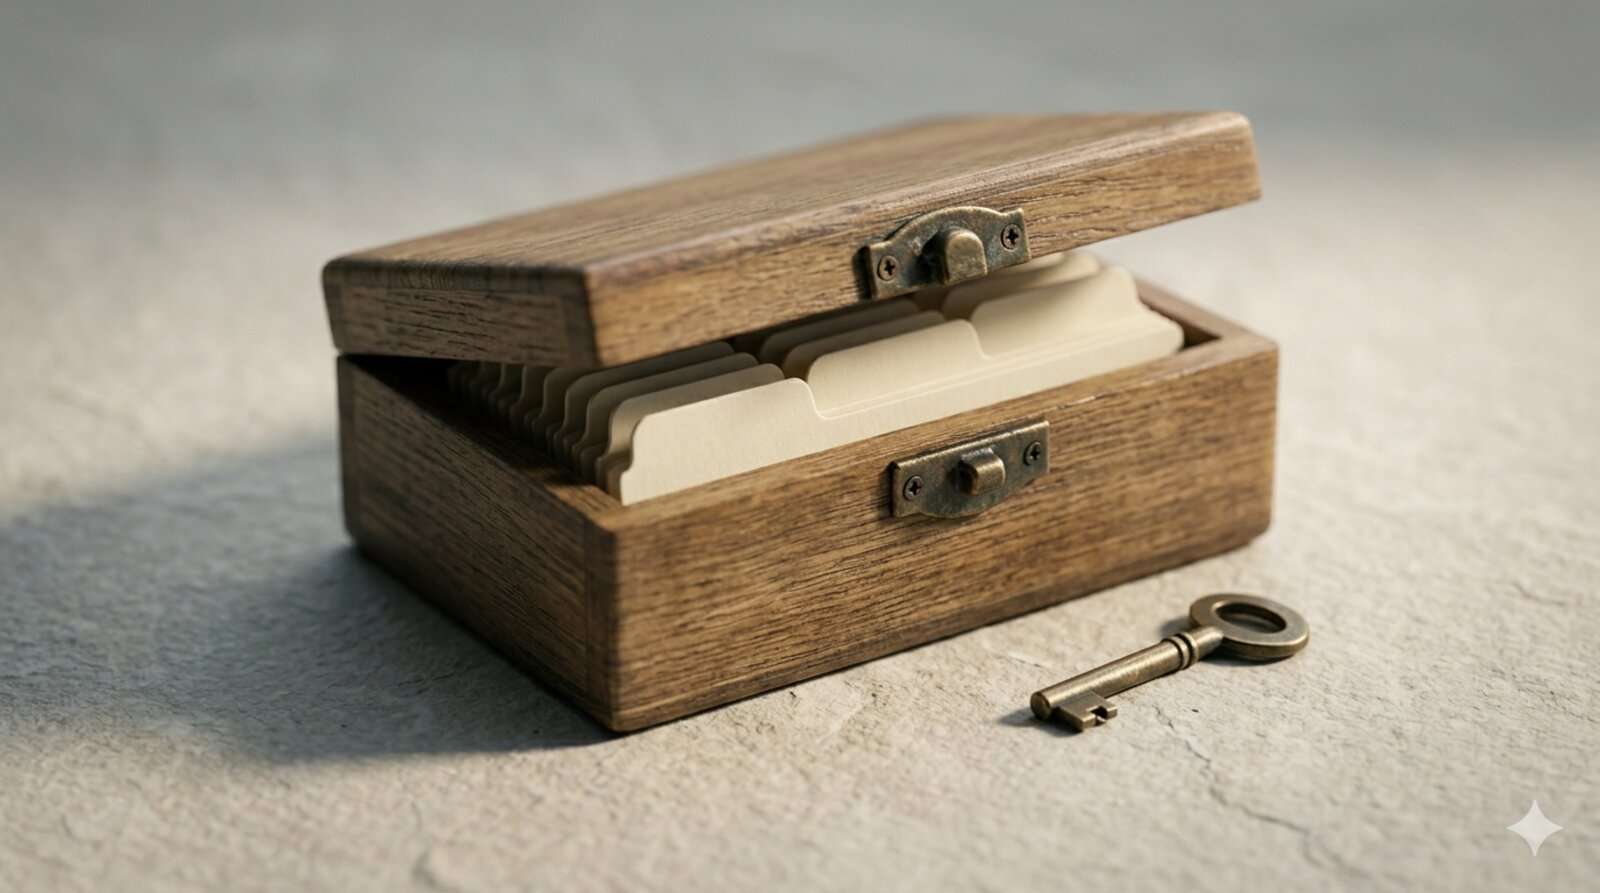
A private, organised credential store: accessible only by key, each entry discrete and retrievable.
1 Introduction
I did not really appreciate how little control I had over my passwords until I tried to export them. I had accumulated over 600 credentials across a combination of 1Password, iCloud Keychain, and Chrome’s built-in password manager: three separate systems with no coherent policy, no consistent backup strategy, and no way to inspect the storage format without paying for a subscription.
The turning point came when I discovered pass, the standard Unix password manager. It stores every password as a GPG-encrypted file in a plain directory tree. The store lives in ~/.password-store/ (a non-cloud-mounted path, outside any Dropbox or iCloud hierarchy), can be tracked in a private git repository, and requires no proprietary client to read: any machine with GPG installed can decrypt an entry. The architecture is almost comically simple, which is precisely what makes it trustworthy.
This post documents the setup procedure: generating a GPG key, installing pass, initialising the store, and migrating a 1Password vault. It also records the incident that followed the migration: accidentally committing .password-store to a public dotfiles repository. That incident was a symptom of a prior architectural error: the store had been placed under a Dropbox-synced path, which is wrong on two grounds. First, a git repository in a cloud-mounted directory is subject to index corruption from sync races (a point developed in post 64). Second, an encrypted credential store belongs to no one’s sync pipeline but your own. This post corrects both errors.
1.1 Motivations
- Browser-based password managers (Chrome, iCloud Keychain) are opaque: the storage format is proprietary, the export options are limited, and the data is commingled with browser state.
- Storing credentials in a paid subscription service creates a single point of failure: if the service changes its pricing or closes, migrating 600 entries becomes an urgent, unplanned task.
- A plain-file store tracked with git provides a full audit trail: every addition, deletion, and edit is a commit with a timestamp.
- GPG encryption is the same mechanism that protects software release signatures; using it for daily credential storage is a concrete way to build familiarity with the toolchain.
- A terminal-native workflow integrates naturally with the rest of a command-line research environment without requiring a browser extension or GUI application.
1.2 Objectives
- Generate a GPG key and confirm it is stored in the system keyring.
- Install
passand initialise a new password store keyed to that GPG identity. - Insert at least one credential by hand and retrieve it via clipboard copy.
- Migrate an existing 1Password CSV export into the store using the
1password2pass.rbconversion script.
This post documents the author’s own learning process. Errors spotted or better approaches are welcome in the comment thread below.
2 What is pass?
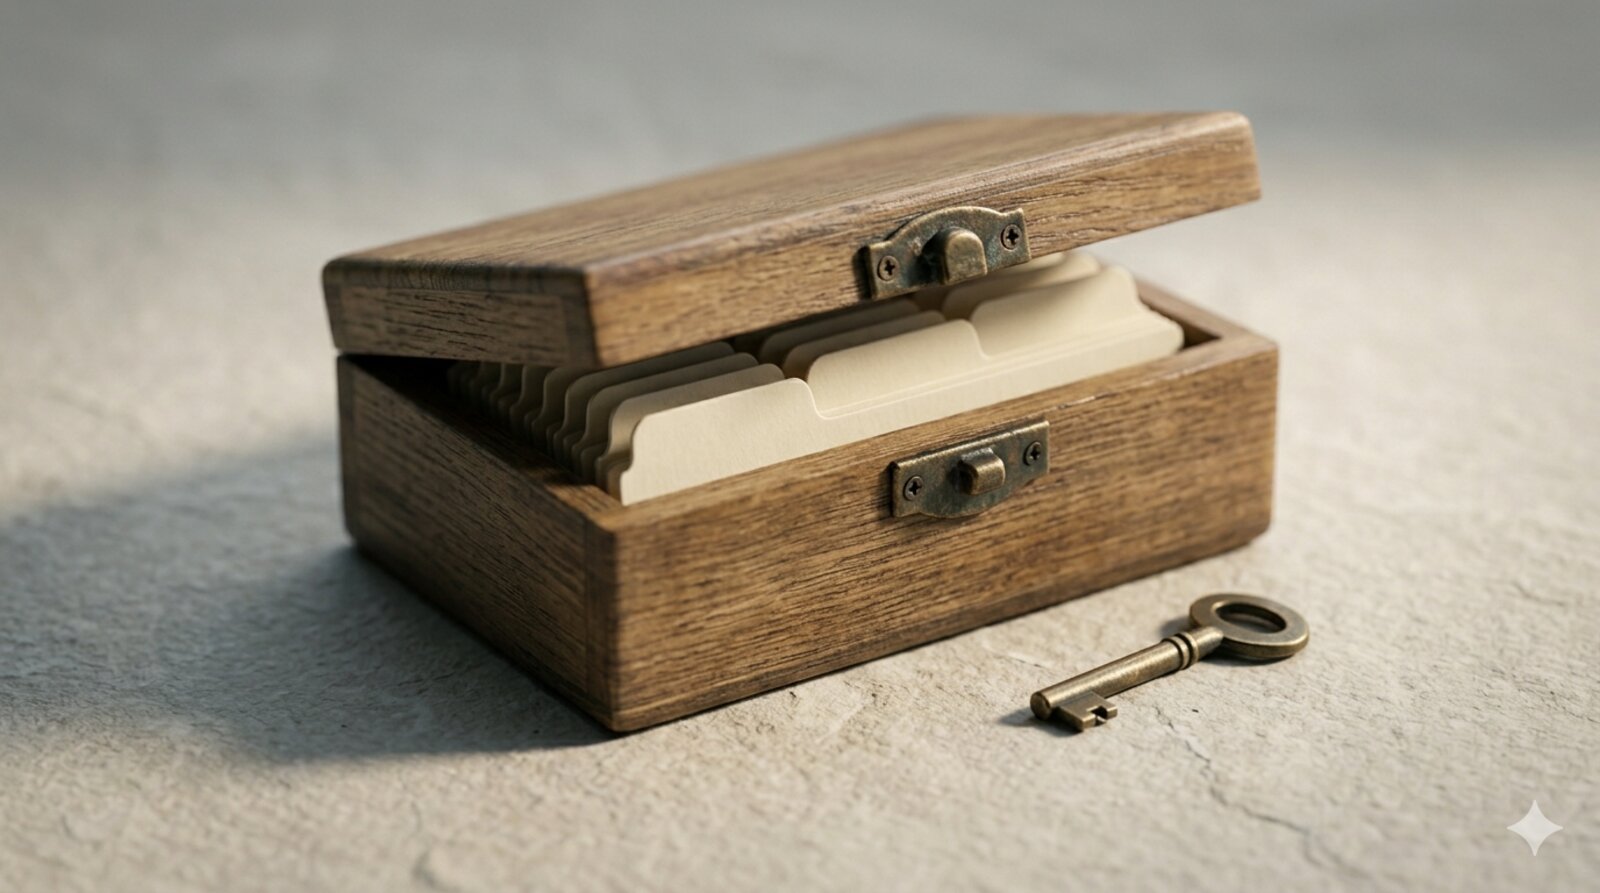
pass is a shell script that wraps GPG file encryption and presents a password store as a directory tree of .gpg files. Think of it as a filing cabinet where every drawer is sealed with your GPG key: only someone who holds the corresponding private key can open a drawer, and the cabinet itself is just a folder on your hard drive. A concrete example: pass insert email/gmail encrypts whatever you type at the prompt and writes the ciphertext to ~/.password-store/email/gmail.gpg; pass -c email/gmail decrypts that file and copies the first line (the password) to the clipboard for 45 seconds before clearing it.
3 Prerequisites
This post assumes:
- Operating system: macOS 13+ (Apple Silicon or x86_64) or a Linux distribution with bash 5+
- Already installed: Homebrew (macOS); GPG is installed as a dependency automatically
- Background knowledge: comfort running shell commands and editing dotfiles; basic understanding of public-key cryptography is helpful but not required
- 1Password export (optional): a CSV export of an existing vault, needed only for the migration section
- Time required: approximately 20 minutes for install, GPG key generation, and a first smoke test; the migration step depends on vault size
On Linux, substitute apt install pass gnupg for the Homebrew commands below.
4 Installation
On macOS, Homebrew installs pass and its GPG dependencies in a single command. The pinentry-mac package provides the graphical passphrase dialog that macOS requires for GPG operations outside a terminal session.
brew install pass gnupg pinentry-macConfirm that pass is available:
pass --version
# Expected: pass 1.7.4 or later
gpg --version
# Expected: gpg (GnuPG) 2.4.x
5 Configuration
5.1 Step 1: Generate a GPG Key
pass requires a GPG key to encrypt and decrypt entries. Generate one interactively:
gpg --full-gen-keyAt the prompts, select:
- Key type: ECC (sign and encrypt, the default in GnuPG 2.4+). Ed25519 / Curve 25519 is the correct choice for new keys in 2026: constant-time operations, smaller keys, and equivalent or stronger security than RSA 4096. RSA remains an option but is not recommended for new keys.
- Curve: Curve 25519 (default when ECC is selected)
- Expiration: 2y (two years) rather than 0. A key that never expires remains valid indefinitely if compromised; a two-year expiration creates a forced review point. Add the renewal date to a calendar immediately. See Gotcha 3 for what happens when a key lapses.
- Real name: your name as you want it associated with the key
- Email address: the address you will use to identify the key when initialising the store
- Passphrase: a minimum of six random words (diceware) or a 25-character random string. Avoid sentences constructed from real phrases: dictionary attacks against GPG keys use pattern-aware wordlists. The passphrase protects every credential in the store.
After generation, verify the key is visible:
gpg --list-keysThe output will show a block beginning with pub, followed by the key fingerprint. Note the email address; it will be used in the next step.
5.2 Step 2: Initialise the Password Store
Initialise pass with the email address associated with the GPG key:
pass init your@email.addressThis creates ~/.password-store/ and writes a .gpg-id file containing your email. Every subsequent pass insert call will encrypt to this identity.
5.3 Step 3: Insert and Retrieve a Credential
Insert a password by name:
pass insert Microsoftpass will prompt for the password (and confirmation) and write the encrypted file to ~/.password-store/Microsoft.gpg.
To copy the password to the clipboard without printing it:
pass -c MicrosoftThe clipboard is cleared automatically after 45 seconds. To print to standard output instead (use with caution in shared terminal sessions):
pass MicrosoftEntries can be organised into subdirectories:
pass insert email/gmail
pass insert finance/chase
pass ls
pass ls displays the full tree of stored entries.
5.4 Step 4: Initialise git Tracking
pass can manage a git repository inside the store automatically. Every pass insert, pass edit, and pass rm is then committed without any extra steps.
pass git initUse pass git log to review history. To push to a remote (for off-site backup), add one now:
pass git remote add origin git@your-private-host:password-store.git
pass git push -u origin main
Choose the remote carefully. The post-64 framework (see Migrating Off Dropbox) treats credentials as outside the sync layers that project content uses. The password store should not go to a public cloud git host, even in a ‘private’ repository: the entry names are metadata (they reveal which services you have accounts with) and a breach of the host exposes that metadata and the ciphertext. Prefer one of:
- A self-hosted Gitea or Forgejo instance on a home server or NAS.
- A VPS you control, accessed over SSH.
- No remote at all, with periodic offline exports of the GPG key and store as the backup strategy (see Uninstall / Rollback).
Accepting per-machine state for the password store (no remote sync, manual key import on each new machine) is architecturally honest and the simplest option for single-laptop setups.
Do not use GitHub, GitLab.com, or any third-party-hosted git service as the remote for your password store. Even a ‘private’ repository on those services places your credential metadata and ciphertext under a third party’s access controls.
5.5 Step 5: Guard the Store Against Accidental git Commits
Post 65’s sensitive-files inventory (Blocker 3) lists ~/.password-store explicitly alongside ~/.gnupg, ~/.ssh, and ~/.aws as items that ‘must never be committed to git, even in a private repository.’ Write the .gitignore entry before the first git add in any dotfiles repository; after the first commit the only remediation is a full git filter-repo rewrite and credential rotation.
For any dotfiles repository in use, add .password-store and .gnupg to its .gitignore before git init:
# In ~/dotfiles/.gitignore, before git init:
.password-store
.gnupg
.ssh
.aws
secrets/*
!secrets/README.md
This step was missed during the original migration. Recovery after an accidental commit to a local-only repository:
git rm --cached -r '.password-store'
git commit -m 'removed .pass'
If the data reached a public remote, git rm --cached is insufficient: use git filter-repo to rewrite history and rotate any credentials the ciphertext could represent. See git-filter-repo and post 65’s Limitations section for the full procedure.
The encrypted files are GPG-protected and would require the private key and passphrase to decrypt, but publishing them publicly is still inadvisable: the entry names reveal which services you have accounts with and the ciphertext is material for offline cryptanalysis.
6 Migration from 1Password
pass ships with a collection of import scripts for common password managers. For 1Password, use the 1password2pass.rb Ruby script.
Step 1: Export from 1Password. In the 1Password desktop app, choose File > Export and export in CSV format. Rename the file for convenience:
mv '1Password 2021-03-14, 04_47 PM (648 items and 1 folders).csv' \
  onepass.csv
Step 2: Download and run the conversion script:
# Obtain the script from the pass import collection
# (see https://www.passwordstore.org/#other)
chmod +x 1password2pass.rb
./1password2pass.rb onepass.csv
The script creates one .gpg file per entry in ~/.password-store/, preserving folder structure where present. A 648-entry vault typically completes in under two minutes.
Step 3: Verify a sample entry:
pass ls | head -20
pass -c AmazonDelete the plaintext CSV export after migration. It contains every password in unencrypted form. On macOS, rm does not overwrite file content on APFS/SSD; the data persists until the block is reused. If FileVault full-disk encryption is enabled (it should be), the block is protected at rest. If FileVault is not enabled, use a secure-delete tool before discarding the machine. In either case, ensure ~/Downloads/ is not synced to iCloud Drive before running the export.
7 Verification
After installation and initial population, run the following checks:
# 1. List all entries (confirms store is readable)
pass ls

# 2. Insert a test entry and retrieve it
pass insert test/smoke-test
pass -c test/smoke-test   # copies to clipboard

# 3. Confirm GPG identity is correct
cat ~/.password-store/.gpg-id
If pass ls renders a tree and pass -c copies to the clipboard without a decryption error, the setup is correct.
8 Daily Workflow
| Command | Action |
|---|---|
pass ls |
List all entries |
pass insert name |
Insert a new credential |
pass insert -m name |
Insert a multi-line entry (notes, TOTP) |
pass -c name |
Copy password to clipboard (clears in 45s) |
pass generate name 20 |
Generate a 20-character random password |
pass edit name |
Open entry in $EDITOR |
pass rm name |
Delete an entry |
pass mv old new |
Rename or move an entry |
pass git log |
Show the git history of the store |
gpg --list-keys |
Confirm your key is still present |
After a short adjustment period, these commands displace the muscle memory built up around a GUI password manager. The clipboard-copy workflow (pass -c name) integrates cleanly with browser login fields and terminal credential prompts alike.
8.1 New-Laptop Bootstrap Position
In the three-layer bootstrap sequence from post 64, credentials must be available before any credential-dependent step (IMAP sync, cloud storage auth, API key injection) can run. The pass setup therefore belongs immediately after the dotfiles layer, before any service authentication:
1. git clone git@github.com:rgt47/dotfiles ~/dotfiles
2. cd ~/dotfiles && ./install.sh
   # Installer prints: "Restore ~/.aws, ~/.ssh, ~/.gnupg
   #                    from secure storage"
3. gpg --import private-key.asc          # from offline backup
4. pass git clone git@your-host:pass.git ~/.password-store
5. pass ls                                # verify store is readable
6. mbsync -a                             # now IMAP credentials exist
7. ... (remaining bootstrap steps)
Step 2 is the install.sh from post 65, which deploys dotfiles symlinks and prints a reminder to restore ~/.gnupg before any credential-dependent step runs. The offline GPG key backup (gpg --export-secret-keys --armor ...) is a prerequisite for step 3 on any new machine; keep it on encrypted removable media, not in cloud storage.
9 Things to Watch Out For
The
.password-storedirectory must not appear in any public git repository. Even though files are GPG-encrypted, their names reveal which services you have accounts with. Add.password-storeto.gitignorein your dotfiles repo before doing anything else. This step was missed during the original migration and required a history rewrite to correct.GPG passphrase prompts can fail silently on macOS without
pinentry-mac. Ifpass insertappears to succeed but subsequentpasscommands fail with a decryption error, the GPG agent may not have cached the passphrase correctly. Installpinentry-macand add this to~/.gnupg/gpg-agent.conf:pinentry-program /opt/homebrew/bin/pinentry-mac default-cache-ttl 300 max-cache-ttl 600The path
/opt/homebrew/bin/pinentry-macis correct for Apple Silicon. On Intel Macs, Homebrew installs to/usr/local/bin/; substitute accordingly, or use$(brew --prefix)/bin/pinentry-macin a setup script. Thedefault-cache-ttl(300 s) controls how long after the last use the passphrase stays cached;max-cache-ttl(600 s) is the absolute ceiling. Omitting these leaves the default at 600 s, which is long for an unattended machine.The GPG key expiration date applies to all stored credentials. A key set to expire that is not renewed will make every entry unreadable. Either set no expiration or establish a calendar reminder to extend the validity date before it lapses.
pass -cclears the clipboard after 45 seconds, but clipboard managers bypass this entirely. On macOS this requirespbcopy, which is present by default. On Linux it requiresxcliporxsel. If neither is available,pass -cwill fail. More importantly: any clipboard manager (Alfred, Raycast, ClipMenu, the macOS Universal Clipboard synced via iCloud) captures thepass -coutput before the 45-second timer fires and stores it permanently, possibly syncing it to other devices. Disable clipboard history, or excludepassinvocations, in any clipboard manager running on the system. On a two-laptop setup with iCloud Universal Clipboard enabled, everypass -con one machine appears in plaintext on the other.The
1password2pass.rbmigration script handles standard CSV exports but may mangle multi-line secure notes or custom field names. Review a sample of migrated entries for completeness before deleting the source vault.The store is as secure as your GPG private key. If the private key is stored unencrypted, or if the passphrase is weak, the GPG layer provides limited protection. Use a passphrase of at least 20 characters.
Renaming the GPG key email address after store initialisation requires re-encrypting every entry. The
.gpg-idfile stores the recipient identity; changing it withpass init new@emailtriggers a batch re-encryption of the whole store.Pass for iOS generates its own SSH key pair; add that key to your self-hosted server, not your desktop key. A common mistake is copying the desktop SSH public key to the server’s
authorized_keyswhile the iOS app is using a different key it generated internally. The symptom is a ‘permission denied (publickey)’ error on every sync attempt. Go to the app’s Settings, copy the displayed public key, and append it to~/.ssh/authorized_keyson the git server as a separate entry. Also verify that the GPG key fingerprint shown in the app matches the fingerprint in~/.password-store/.gpg-id.
10 Uninstall / Rollback
To remove pass and its configuration from the workstation:
# 1. Remove the password store (IRREVERSIBLE without a backup)
#    Only run this if you have exported or backed up all credentials.
rm -rf ~/.password-store

# 2. Remove the GPG key (IRREVERSIBLE)
gpg --list-keys                           # note the key ID
gpg --delete-secret-and-public-key KEYID

# 3. Uninstall the tools
brew uninstall pass gnupg pinentry-macBack up the password store and the GPG private key before uninstalling. Export the private key with gpg --export-secret-keys --armor your@email > key-backup.asc and store the file offline.
11 What Did We Learn?
11.1 Lessons Learnt
Conceptual Understanding:
passis thin by design: it delegates all cryptographic work to GPG and all version control to git, composing two well-audited tools rather than reimplementing them.- A GPG identity is portable: the same key pair can encrypt and decrypt entries across any machine where the private key is installed, which is the correct model for multi-device credential access.
- Password store organisation mirrors filesystem organisation: the mental model for
pass insert email/gmailis identical tomkdir email && touch email/gmail, which makes navigation intuitive for anyone comfortable at a terminal. - Accidental publication of encrypted data is still a security event: ciphertext reveals metadata (entry names, creation dates) and provides material for offline cryptanalysis.
Technical Skills:
- Generating a GPG key with
gpg --full-gen-keyand inspecting it withgpg --list-keysare foundational skills that transfer to signing git commits, verifying software releases, and encrypting arbitrary files. - The
pass gitsubcommand proxies any git command against the password store repository, making it easy to push the store to a private remote for backup. git rm --cached -rremoves a tracked directory from the index without deleting the local copy, which is the correct recovery command when a sensitive directory is accidentally staged.pinentry-macbridges the macOS graphical environment and the GPG agent; configuring it correctly eliminates most passphrase prompt failures.
Gotchas and Pitfalls:
- Forgetting to add
.password-storeto.gitignorebefore the firstgit add .in a dotfiles repo is the most common first-week mistake. - A GPG key that has expired will cause all
passoperations to fail with a non-obvious error message; checkgpg --list-keysfirst when debugging decryption failures. - The 1Password CSV export may contain entries whose names include characters that are invalid in filenames (
/,:,?); the migration script silently truncates or skips these. - The clipboard-clear timer (
45s) runs in a background process; it will not fire if the shell exits before the timer elapses.
11.2 Limitations
- Multi-device synchronisation is manual.
passcan push and pull from a git remote, but the user must manage this explicitly; there is no background sync daemon. - Mobile access requires a companion app and key transfer. Pass for iOS exists and syncs via a git remote, but it requires importing the GPG private key to the device. The key transfer itself (AirDrop or similar) is a security event: the private key is briefly in plaintext and in transit. See Appendix A for the full procedure.
- No breach monitoring. Unlike some commercial managers,
passdoes not check credentials against known-breached password lists. - Bulk password generation is not built in. Generating unique passwords for 600 migrated entries is a manual process; the migration script imports existing passwords but does not regenerate them.
- The security model depends entirely on the GPG key. Loss of the private key, or compromise of the passphrase, results in loss of access to all credentials. Offline key backups are essential but add operational complexity.
11.3 Opportunities for Improvement
- Push the store to a private self-hosted remote (Gitea, Forgejo, or a bare git repository on a NAS) using
pass git initandpass git remote add(covered in Configuration Step 4). Avoid third-party cloud git hosts even with private repositories. - Install and configure Pass for iOS to enable mobile access; see Appendix A for the git sync, GPG key export, and SSH configuration procedure.
- Configure the GPG agent to use a hardware security key (YubiKey) so the private key never exists in plaintext on disk.
- Add a shell alias (e.g.,
alias p='pass -c') to reduce the keystrokes for the most common operation. - Periodically audit the store with
pass lsto remove stale entries for defunct accounts and services. - Enable
pass gitpush as a post-commit hook so the remote backup is updated automatically after every change.
12 Wrapping Up
Switching to pass from a combination of browser password managers and a commercial vault took one afternoon and produced a credential store that is simpler, more auditable, and more portable than anything it replaced. The migration of 648 entries from 1Password was completed in under two minutes using the 1password2pass.rb script. The entire store is a directory of GPG-encrypted files: no proprietary format, no subscription required to read it.
The most instructive moment in the setup was the accidental commit to a public repository. Recovering from it was straightforward, but the incident made concrete a rule that had previously felt theoretical: sensitive directories belong in .gitignore before the repository is created, not after.
In conclusion, four points merit emphasis. First, pass stores passwords as GPG-encrypted files in a plain directory tree, composing GPG and git rather than replacing them. Second, the store must be added to .gitignore in any dotfiles repository before the first commit; this step is easy to miss and non-trivial to reverse. Third, pinentry-mac is required on macOS for reliable passphrase prompts outside the terminal and must be configured in ~/.gnupg/gpg-agent.conf. Fourth, the 1password2pass.rb script migrates a 1Password CSV export to the store in one command; the plaintext CSV should be deleted afterwards.
13 See Also
Official documentation:
- passwordstore.org: the official
passhomepage with install instructions and the full list of compatible import scripts - passwordstore.org/#other: companion apps and import scripts, including
1password2pass.rb - GnuPG documentation
Related posts:
- Post 64, Migrating Off Dropbox: Beyond Dotfiles: the three-layer framework that defines where the password store belongs in a multi-laptop workflow and why cloud-mounted git repos are structurally wrong.
- Post 65, Multi-Laptop macOS Bootstrap: the concrete implementation of post 64’s framework: the
install.shthat deploys dotfiles and prints the ‘restore~/.gnupgfrom secure storage’ reminder that step 3 of this post’s bootstrap sequence depends on. Also lists~/.password-storeexplicitly in its sensitive-files inventory. - Post 24, Creating a GitHub Dotfiles Repository: the architectural design that post 65 implements and that this post’s bootstrap sequence builds on.
- Setting Up Git on a New Machine: relevant if you plan to track the password store in a private self-hosted git remote.
14 Reproducibility
Tested configuration:
| Component | Version |
|---|---|
| Operating system | macOS 15.4 (Sequoia) |
| pass | 1.7.4 |
| gnupg | 2.4.x |
| pinentry-mac | 1.3.x |
| Shell | zsh 5.9 |
| Homebrew | 4.x |
| Last verified | 2026-05-17 |
Configuration files:
analysis/configs/gpg-agent.conf:pinentry-macconfigurationanalysis/configs/gitignore-guard.sh: one-liner to add.password-storeto an existing dotfiles.gitignore
To reproduce the core setup:
brew install pass gnupg pinentry-mac
gpg --full-gen-key         # follow prompts
pass init your@email.com
pass insert test/smoke
pass -c test/smoke         # confirm clipboard copy works
15 Appendix A: iOS Sync with Pass for iOS
The Pass for iOS app reads the same GPG-encrypted .gpg files that the desktop pass command produces. Once the store is in a private git remote (Configuration Step 4), the iOS app can pull and decrypt entries on the device. The procedure has four parts.
15.1 A.1 Confirm the Remote is Set Up
From the desktop:
pass git remote -v
# Should show: origin  git@your-private-host:password-store.git
pass git push
If no remote is configured, add one first (see Configuration Step 4). Note that this remote should be a self-hosted server, not a public cloud service. The iOS app will pull directly from the same remote.
15.2 A.2 Export the GPG Key
The app needs your private key to decrypt entries. Export both the public and private key to armored text files:
gpg --export-armor YOUR_KEY_ID > public.asc
gpg --export-secret-keys --armor YOUR_KEY_ID > private.asc
Transfer private.asc to the iPhone securely. AirDrop is acceptable for this step: the file is protected only by your GPG passphrase, so ensure the passphrase is strong before transferring. Delete the .asc files from the desktop immediately after transfer.
The exported private key is a sensitive file. Do not email it, do not store it in Dropbox or iCloud unencrypted, and delete it from the Files app on the iPhone after importing into Pass.
15.3 A.3 Configure the iOS App
Install Pass - Password Store from the App Store. In the app:
- Go to Settings → Password Store.
- Set the Git Repository URL to your self-hosted remote.
SSH (recommended for a self-hosted remote):
- The app generates its own SSH key pair. Go to Settings → SSH Key, copy the displayed public key, and add it to
~/.ssh/authorized_keyson your self-hosted git server. Do not copy your desktop key; the iOS app generates a separate key internally.
HTTPS (if your remote supports it):
- Use the credentials for your self-hosted service (Gitea, Forgejo, etc.). If the service supports tokens, use a token scoped to the password-store repository only rather than your account password.
15.4 A.4 Import the GPG Key and Sync
- In the app, go to Settings → PGP Key → Import Key.
- Select the
private.ascfile from Files. - Enter your GPG passphrase when prompted.
- Tap Sync. The app pulls the repository and decrypts the entry list.
Confirm that a known entry is visible and tappable. Tapping an entry copies the password to the iOS clipboard.
15.5 A.5 Common Snags
- ‘Permission denied (publickey)’ on sync: the app’s SSH key has not been added to your self-hosted server’s
authorized_keys. Copy the public key from Settings → SSH Key in the app and append it to~/.ssh/authorized_keyson the git server. - ‘No secret key’ decryption error: the fingerprint in the app does not match the
.gpg-idin the repository. Check both values:cat ~/.password-store/.gpg-idon the desktop, Settings → PGP Key in the app. - HTTPS 401 error: the Personal Access Token has expired or was not granted write access to the repository. Regenerate it.
16 Appendix B: Security Considerations
The following items do not fit neatly into the setup steps but materially affect the security posture of the overall credential architecture. Post 67 addresses these topics in depth; this appendix summarises the key points for quick reference.
16.1 B.1 GPG Subkey Architecture
The setup above creates a single key pair used for both certification and encryption. The correct operational model for daily use is:
- Master key (certify only): signs new subkeys and revocation certificates. Generated once, then moved to offline storage or a hardware security key (YubiKey). Never used in daily operation.
- Encryption subkey: the only key needed by
passfor day-to-day encrypt/decrypt operations. Shorter expiry than the master. - Signing subkey (optional): used for
git commit --gpg-sign.
With this architecture, the master private key never needs to exist on the laptop’s disk during normal operation. A compromised laptop exposes only the encryption subkey, which can be revoked by signing a new revocation certificate with the (offline) master key. This is the mechanism by which hardware security keys (Opportunity #3) work. Implementing the full subkey architecture is beyond this post’s scope but is the recommended next step after the basic setup is stable.
16.2 B.2 AWS and API Credentials via pass
The ~/.aws/credentials file is plaintext on disk. Having a working pass store makes it straightforward to remove it:
# Store AWS credentials in pass
pass insert aws/access-key-id
pass insert aws/secret-access-key

# Retrieve on demand via a shell function in ~/.zshrc:
aws_env() {
  export AWS_ACCESS_KEY_ID=$(pass aws/access-key-id)
  export AWS_SECRET_ACCESS_KEY=$(pass aws/secret-access-key)
}
Call aws_env at the start of a session that needs AWS access. The plaintext credentials are in memory only, not on disk. Remove ~/.aws/credentials after confirming the function works. The same pattern applies to any plaintext credential file (~/.npmrc tokens, ~/.config/rclone/rclone.conf, API keys in ~/.env).
16.3 B.3 FileVault
Full-disk encryption (FileVault on macOS) is a prerequisite, not an enhancement, for any local credential store. The GPG encrypted files in ~/.password-store/ are strong, but the GPG agent caches the decrypted private key in memory; if the machine is lost while unlocked, or if a swap file captures memory, the cached key is readable without FileVault. Confirm FileVault status:
fdesetup status
# Expected: FileVault is On.
If FileVault is not enabled, enable it before populating the password store.
16.4 B.4 SSH Key Policy for Multi-Laptop Setups
Post 65’s bootstrap sequence says ‘Restore ~/.ssh from secure storage.’ For SSH private keys, the correct multi-machine policy is NOT to copy keys between machines but to generate a new key pair on each machine:
ssh-keygen -t ed25519 -C "$(hostname)-$(date +%Y%m)"Then add the new public key to GitHub, servers, and anywhere the previous key was authorised. This is more work initially, but it means a compromised laptop exposes only that machine’s key, and revocation is surgical. Copying a private key between machines means all machines are compromised if any one of them is.
The one exception is the GPG private key, which is a single identity and must be the same across machines by design. The mitigant is the subkey architecture described above, which limits the blast radius of any single machine compromise.
17 Let’s Connect
Have questions, suggestions, or spot an error? Let me know.
- GitHub: rgt47
- Twitter/X: @rgt47
- LinkedIn: Ronald Glenn Thomas
I would enjoy hearing from you if:
- You spot an error or a better approach to any of the steps above.
- You have suggestions for topics you would like to see covered.
- You use a different OS or password manager and want to compare notes.
Rendered on 2026-05-17 at 09:08 PDT.
Source: ~/prj/qblog/posts/66-unix-pass-setup/unix-pass-setup/analysis/report/index.qmd